

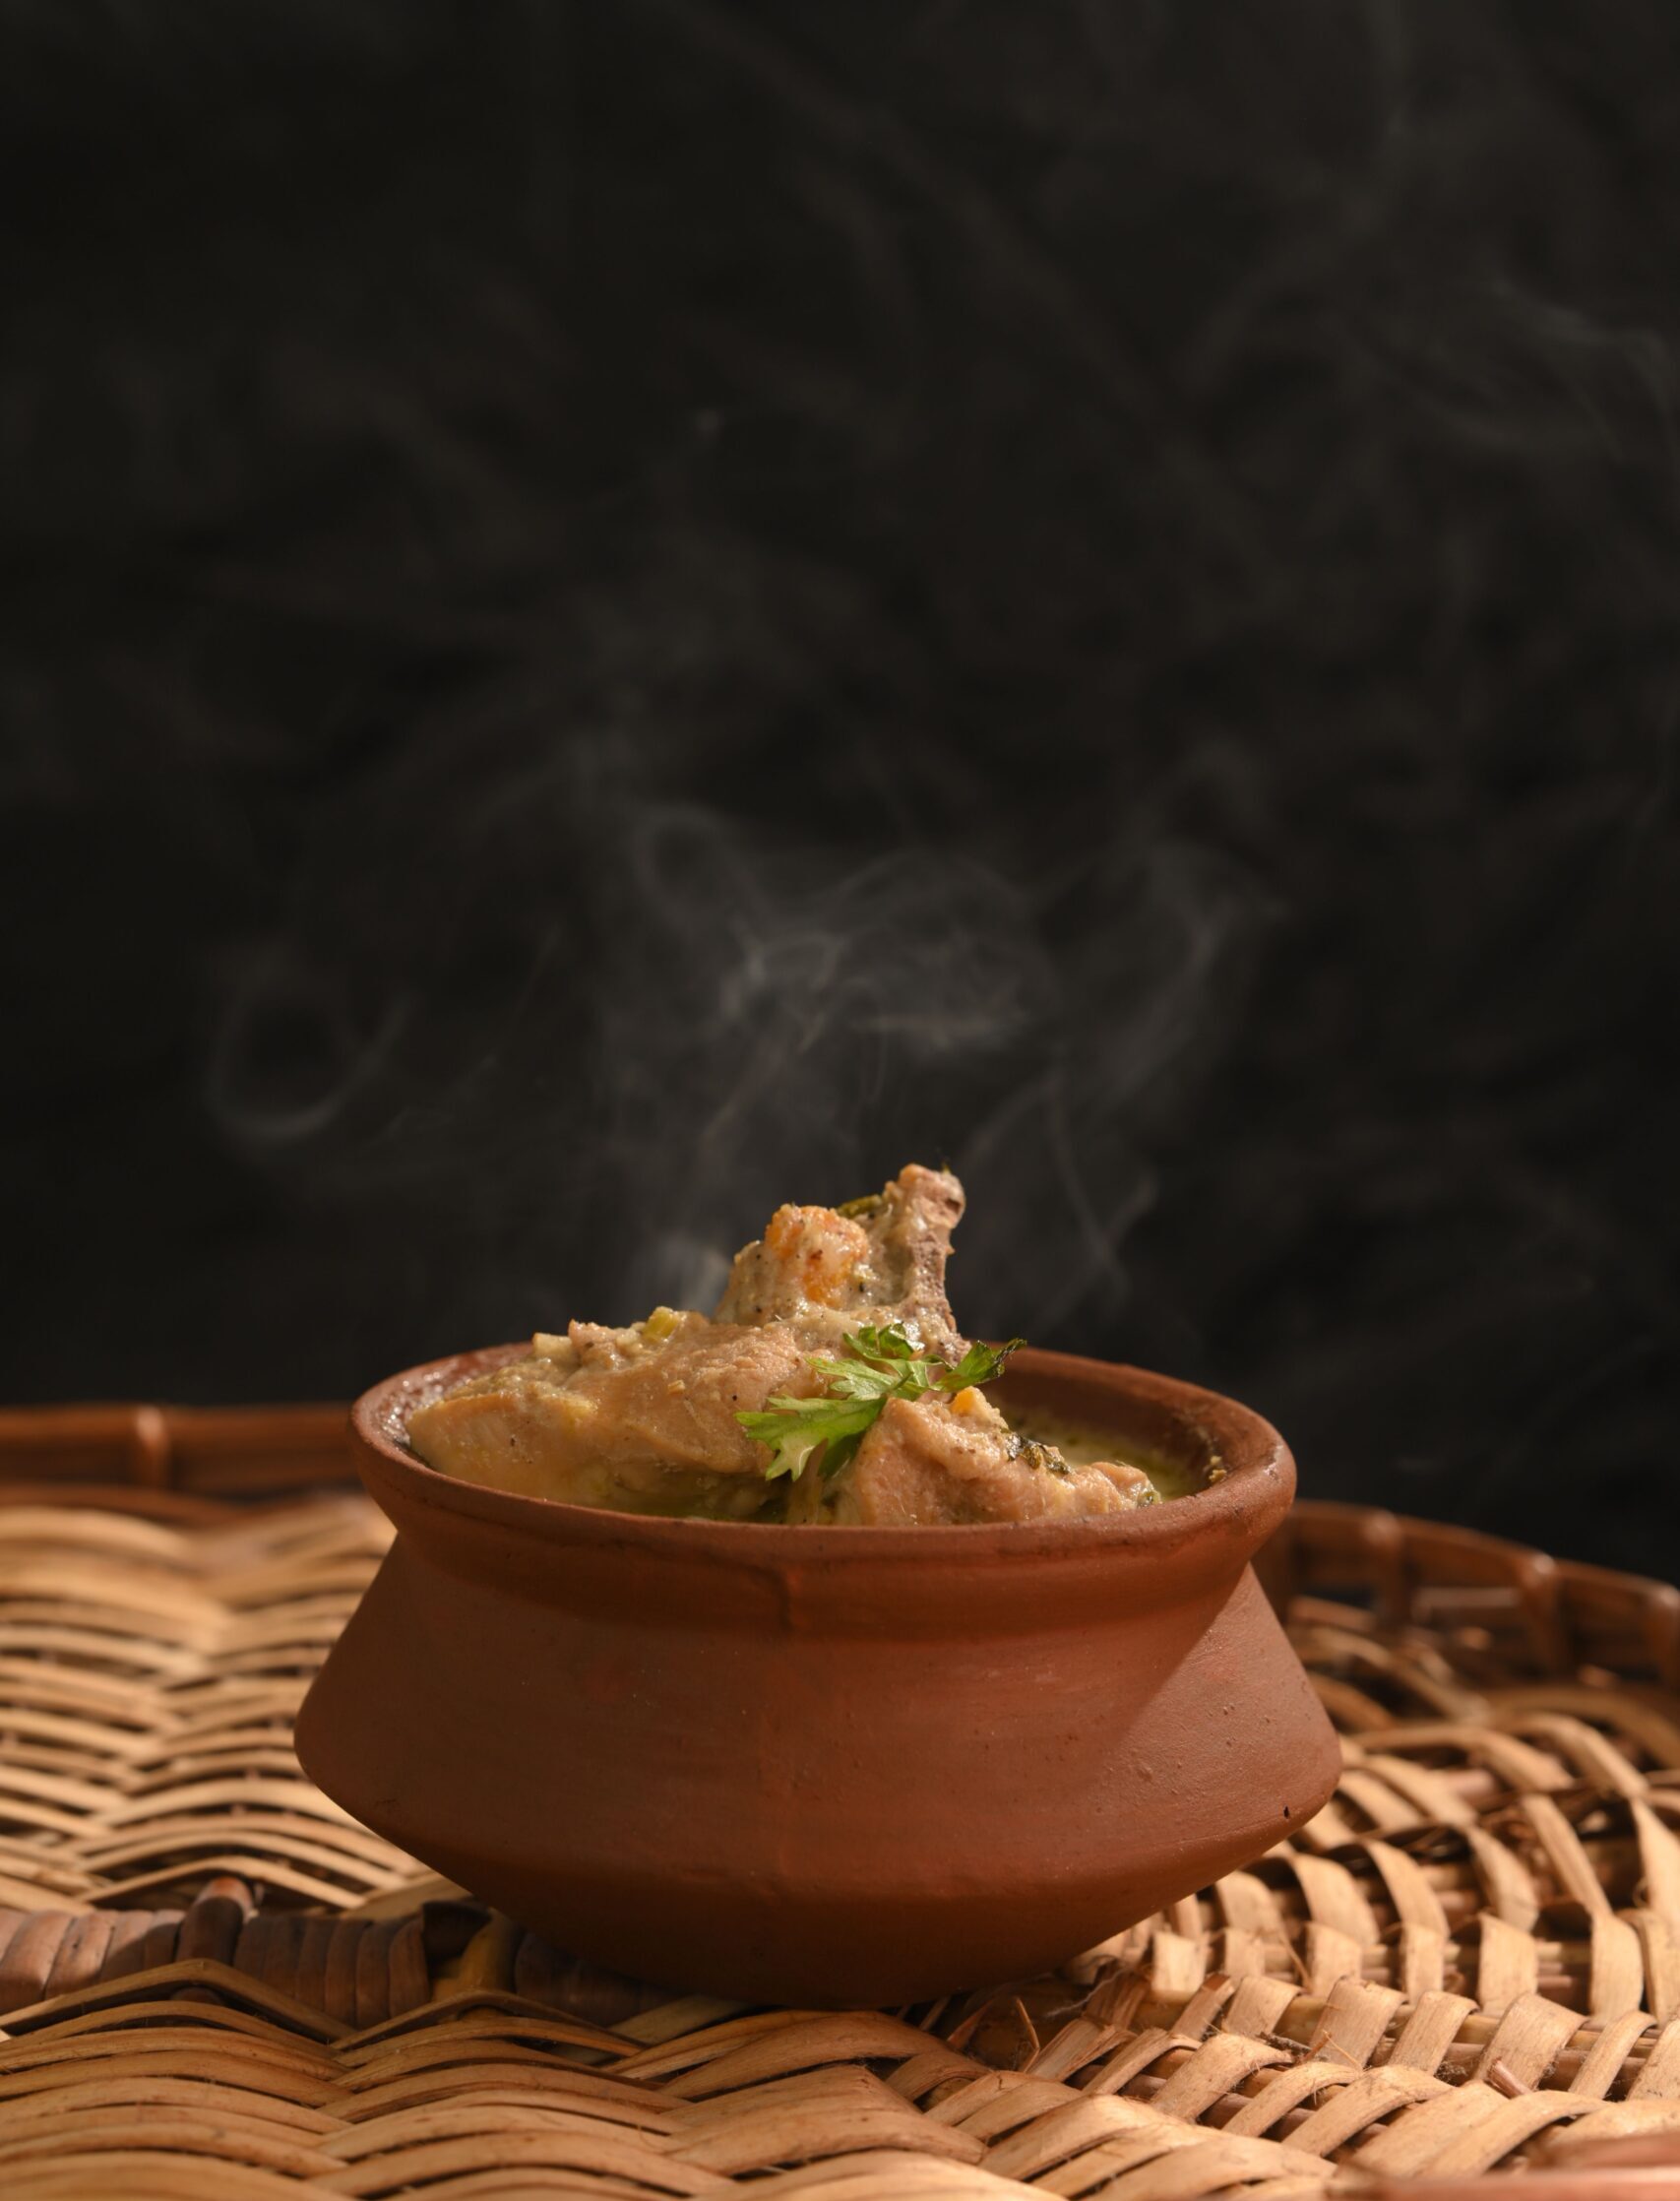
Few dishes capture the soul of South Indian cooking quite like an authentic Kerala chicken curry. Tender pieces of chicken simmer slowly in a fragrant, golden coconut-milk gravy perfumed with fresh curry leaves, crackling mustard seeds, ginger, and freshly ground spices. Every spoonful is creamy yet light, warming yet bright — the kind of curry that makes an ordinary weeknight dinner feel like a celebration.
This Kerala chicken curry recipe comes from the coastal kitchens of Kerala, a lush state in southwestern India where coconut is king and seafood and poultry curries are everyday staples. Unlike the heavy, cream-laden curries of the North, Kerala-style curries get their luxurious body from coconut milk and their distinctive aroma from curry leaves tempered in coconut oil. The result is a curry that is deeply flavorful without being heavy, with layers of spice that build gently rather than overwhelm.
What I love most about this recipe is how achievable it is. There is no complicated technique here — just a patient layering of flavors in a single pot. In about 45 minutes, you will have a restaurant-worthy Kerala chicken curry on the table, complete with pro tips, variations, nutritional information, and answers to the most common questions. Let us get cooking.
Table of Contents
- Why You’ll Love This Kerala Chicken Curry
- Ingredients
- How to Make Kerala Chicken Curry
- Pro Tips for Perfect Curry
- Tasty Variations
- Nutrition Information
- Frequently Asked Questions
- Serving Suggestions
Why You’ll Love This Kerala Chicken Curry
Here is why this Kerala chicken curry deserves a place in your regular dinner rotation:
- Authentic coastal flavor: Coconut oil, curry leaves, and coconut milk give it the unmistakable taste of Kerala’s kitchens.
- One-pot simplicity: Everything cooks in a single deep pan or Dutch oven, so cleanup is a breeze.
- Ready in 45 minutes: Most of that time is hands-off simmering while the flavors meld.
- Naturally gluten-free and dairy-free: Coconut milk replaces cream, so it suits most diets without substitutions.
- Meal-prep friendly: Like most curries, it tastes even better the next day as the flavors deepen overnight.
- Customizable heat: Easily adjusted from mild and kid-friendly to fiery and bold.
Ingredients
Gather these simple ingredients to make the best Kerala chicken curry at home. Most are pantry staples if you cook Indian food regularly.
For the Chicken
- 750g chicken, cut into medium bone-in pieces — Bone-in chicken (thighs and drumsticks) gives the richest flavor and stays juicier than breast meat. If you prefer boneless, use thighs rather than breast.
- 1/2 teaspoon turmeric powder — For the marinade; adds color and earthy flavor.
- 1 teaspoon salt — Seasons the chicken from within during marination.
- 1 tablespoon lemon juice — Tenderizes the meat and brightens the flavor.
For the Curry Base
- 3 tablespoons coconut oil — The signature fat of Kerala cooking; its aroma is essential to an authentic Kerala chicken curry. Do not substitute vegetable oil if you can avoid it.
- 1 teaspoon mustard seeds — They must splutter fully to release their nutty flavor.
- 3 sprigs fresh curry leaves — Use fresh, not dried; dried leaves lack the citrusy aroma. You will need some for tempering and some for garnish.
- 2 large onions, thinly sliced — About 300g. Sliced (not chopped) onions melt into the gravy and give it body.
- 1 tablespoon ginger-garlic paste — Freshly pounded is best, but good-quality store-bought works too.
- 3 green chilies, slit lengthwise — Adjust to your heat preference.
- 2 medium tomatoes, finely chopped — They add tang and help thicken the gravy.
Spices and Coconut Milk
- 1/2 teaspoon turmeric powder — For the gravy.
- 2 teaspoons Kashmiri red chili powder — Gives vibrant color with moderate heat.
- 1 tablespoon coriander powder — The backbone spice of the masala.
- 1 teaspoon black pepper powder — Freshly ground adds a warm, sharp bite characteristic of Kerala curries.
- 1/2 teaspoon garam masala — Added at the end to preserve its aroma.
- 1 cup thin coconut milk — For simmering the chicken.
- 1/2 cup thick coconut milk — Stirred in at the end for creaminess. Shake the can well before measuring.
- Salt to taste — Add in stages and adjust at the end.
How to Make Kerala Chicken Curry: Step-by-Step Instructions
Follow these detailed steps for a foolproof Kerala chicken curry every time:
Step 1: Marinate the chicken. In a large bowl, toss the chicken pieces with turmeric, salt, and lemon juice. Cover and rest for at least 20 minutes at room temperature, or up to 2 hours in the refrigerator. This simple marinade seasons the meat deeply and the acid begins to tenderize it — do not skip this step if you want a truly flavorful Kerala chicken curry.
Step 2: Temper the spices. Heat the coconut oil in a deep, heavy-bottomed pan or Dutch oven over medium-high heat. When the oil is hot and shimmering, add the mustard seeds. Wait until they splutter and pop completely — about 30 seconds — then immediately add 2 sprigs of curry leaves (stand back, they will sputter). This tempering, called tadka, blooms the spices in hot oil and forms the aromatic foundation of the curry.
Step 3: Brown the onions. Add the sliced onions and a pinch of salt to the pan. Cook over medium heat, stirring regularly, for 10–12 minutes until they turn deep golden brown at the edges. Do not rush this step — well-browned onions give the gravy its sweetness, color, and body. If the onions start catching, lower the heat and add a splash of water.
Step 4: Add ginger-garlic and chilies. Stir in the ginger-garlic paste and slit green chilies. Sauté for 2 minutes until the raw smell disappears and the paste turns lightly golden. The mixture should smell intensely fragrant at this point.
Step 5: Cook the tomatoes. Add the chopped tomatoes and cook for 5–6 minutes, stirring and mashing them with the back of your spoon, until they break down into a thick, jammy paste that coats the onions. You will see the oil begin to glisten at the edges — that is the sign the base is ready.
Step 6: Bloom the ground spices. Lower the heat to medium-low and add the turmeric, Kashmiri chili powder, coriander powder, and black pepper. Stir constantly for 60–90 seconds. The spices should darken slightly and smell roasted, not burnt. If the mixture looks dry, add a tablespoon of water to prevent scorching.
Step 7: Sear the chicken. Add the marinated chicken pieces and increase the heat to medium-high. Toss well to coat every piece in the masala, then cook for 6–8 minutes, turning occasionally, until the chicken is lightly seared and the masala clings to the meat. This searing step locks in juices and builds a deeper flavor in your Kerala chicken curry.
Step 8: Simmer in thin coconut milk. Pour in the thin coconut milk and 1/2 cup of water. Stir, scraping up any browned bits from the bottom of the pan. Bring to a gentle boil, then reduce the heat to low, cover, and simmer for 20–25 minutes until the chicken is tender and cooked through. Stir once or twice during cooking.
Step 9: Finish with thick coconut milk. Uncover the pan and stir in the thick coconut milk and garam masala. Simmer gently on low heat for 5 minutes — never let it boil vigorously now, or the coconut milk may split. The gravy should be creamy, golden-orange, and coat the back of a spoon.
Step 10: Garnish and rest. Taste and adjust salt. Turn off the heat, scatter the remaining fresh curry leaves over the top, and let the Kerala chicken curry rest for 10 minutes before serving. This short rest lets the flavors settle and the gravy thicken slightly.
Pro Tips for Perfect Curry
These expert tips will elevate your Kerala chicken curry from good to exceptional:
- Use coconut oil. It is non-negotiable for authentic flavor. The aroma of curry leaves bloomed in coconut oil is the soul of this dish.
- Do not skip the marinade. Even 20 minutes makes a noticeable difference in how deeply seasoned the chicken tastes.
- Brown the onions properly. Pale, rushed onions make a pale, flat-tasting gravy. Golden-brown onions make it sweet and complex.
- Control the coconut milk. Add thick coconut milk only at the end over low heat. Boiling it hard will split the gravy into an oily layer.
- Fresh curry leaves matter. Dried curry leaves are a shadow of the fresh ones. Find them at Indian or Asian grocery stores; they freeze beautifully for months.
- Adjust consistency. For a thicker gravy, simmer uncovered for a few extra minutes. For a thinner, soupier curry (perfect with appam), add a little more thin coconut milk.
- Tastes better the next day. Make it ahead — refrigerated overnight, the spices meld and the Kerala chicken curry tastes even richer.
- Use a heavy pot. A heavy-bottomed Dutch oven distributes heat evenly and prevents the coconut milk from catching at the bottom.
Tasty Variations
This Kerala chicken curry recipe is wonderfully flexible. Try these variations:
- Kerala chicken roast (dry version): Skip the thin coconut milk and cook the masala-coated chicken covered on low heat in its own juices, then finish with thick coconut milk for a drier, intensely flavored roast.
- With potatoes: Add 2 cubed potatoes along with the chicken for a heartier one-pot meal that stretches further.
- Egg curry version: Replace chicken with 6 hard-boiled eggs, lightly fried until golden, and simmer in the same coconut gravy.
- Milder kid-friendly version: Halve the green chilies and chili powder, and add an extra splash of thick coconut milk to mellow the heat.
- Extra fiery: Add 1 teaspoon of crushed black pepper and 2 dried red chilies to the tempering for serious heat.
- Instant Pot method: Use sauté mode for steps 2–7, then pressure cook on high for 8 minutes with the thin coconut milk. Stir in thick coconut milk and garam masala on sauté mode afterward.
Nutrition Information
Approximate nutrition per serving of this Kerala chicken curry (recipe serves 6):
| Nutrient | Amount |
|---|---|
| Calories | 385 kcal |
| Protein | 32 g |
| Carbohydrates | 9 g |
| Fat | 24 g |
| Saturated fat | 14 g |
| Fiber | 2 g |
| Iron | 20% of daily value |
Estimates only; actual values vary with ingredients. Chicken provides lean protein and B vitamins, while coconut milk adds satisfying healthy fats and the spices contribute antioxidants — a balanced, nourishing meal.
Frequently Asked Questions
Can I use boneless chicken for Kerala chicken curry? Yes. Boneless thighs work best — they stay juicy during simmering. Reduce the simmering time to 15 minutes since boneless pieces cook faster. Avoid breast meat if possible, as it can turn dry.
Why did my coconut milk split? Coconut milk splits when boiled vigorously or when very acidic ingredients are added at high heat. Always stir thick coconut milk in at the end over low heat and never let the Kerala chicken curry boil hard afterward.
Can I make this curry ahead of time? Absolutely — it is one of the best make-ahead curries. Refrigerate for up to 3 days; the flavor deepens overnight. Reheat gently on the stovetop, adding a splash of water or thin coconut milk if the gravy has thickened.
What is the difference between Kerala chicken curry and other Indian chicken curries? Kerala chicken curry is defined by coconut oil, fresh curry leaves, and coconut milk, giving it a distinctive coastal aroma and creamy-but-light body. North Indian curries more often use ghee, cream, and dried fenugreek leaves for a richer, heavier profile.
Can I freeze Kerala chicken curry? Yes, freeze in airtight containers for up to 2 months. Thaw overnight in the refrigerator and reheat gently. The texture of the coconut gravy may change slightly; stir well while reheating to bring it back together.
Is Kerala chicken curry very spicy? It is moderately spiced with a warm, layered heat rather than sharp burn. The coconut milk mellows the chilies beautifully. Adjust green chilies and chili powder to taste — the recipe as written is medium heat.
Serving Suggestions
Serve this Kerala chicken curry with steamed basmati rice, Kerala parotta, appam, or dosa to soak up every drop of the coconut gravy. A simple cucumber raita or a fresh kachumber salad on the side adds a cooling contrast. For a festive spread, pair it with Indian Biryani rice, Spicy Masala Paneer Salad as a starter, and finish with fresh veggie sides for a complete Indian feast.
Creamy, fragrant, and deeply comforting, this authentic Kerala chicken curry brings the flavors of India’s spice coast straight to your table. Make it once, and it will earn a permanent place in your curry repertoire — do not forget to leave a comment and tell me how yours turned out!

2 Comments